ORIGINAL
CUSTOMIZED GENERAL LEE
MODEL
This
was my first attempt at building a more accurate General Lee
model. I built this model in the winter of 2000. Here's the
story of how I decided to build it:
I used to have an original General Lee 1:25 scale model (back
around 1981), but I think it may have been involved in some
sort of childhood demolition derby.
In
1998, I bought the re-released General Lee model, which I
built with much more care. However, with my recently renewed
interest in the Dukes' cars, I began to notice a lot of inaccuracies
with the General Lee kit.
This
led me to the task of building a much more accurate General
Lee. I bought two different kits, one was the actual "Dukes"
kit, and the other was a regular '69 Charger kit, made by
Monogram. I used the tires, wheels, front push bar and most
of the decals from the "Dukes" kit, and the rest
is from the Monogram kit. I made my own license plate decals
and letter decals for the roof.
The
"Dukes" kit features a Charger 500-style body instead
of the regular Charger body. The difference is mostly in the
rear window, which is flat on the 500 body, and buttressed
on the regular body.
Also,
the inaccurate "Dukes" kit shows hood pins, "Charger"
emblems behind the side windows, and "hemi" emblems
on the doors. These didn't exist on the "real" General
Lee.
The
"General Lee" decals on the top were made in black
letters, instead of the proper blue, plus they were too big
and were printed in the incorrect font.
Finally,
in most "Dukes" episodes, the General only has a
roll bar behind the front seats, not a complete roll cage,
as featured in the inaccurate kit.
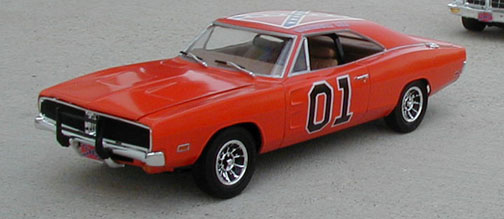
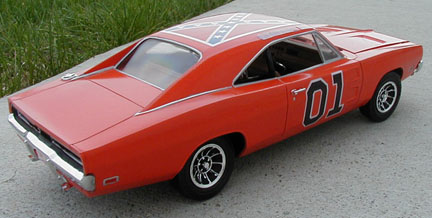
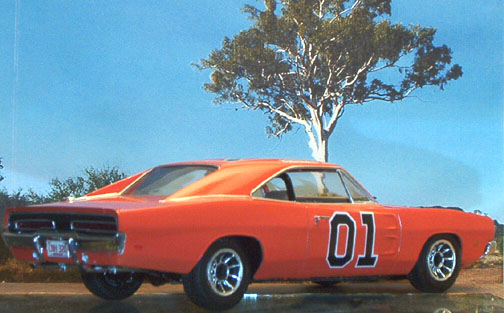
Initially, I had printed the roof lettering on label paper
(see the first 3 photos below), but after getting clear adhesive
lettering from the sign shop, I replaced my handmade decals
with the better-looking ones in 2002.
Then, on December 2, 2002, I modified the front suspension
and dullcoated the wheels, for a more accurate look. I also
repainted the side marker lights, eliminating the incorrect
chrome outlines. These final modifications can be seen in
the last 2 photos below.
CLICK ON A THUMBNAIL BELOW TO SEE A LARGER PHOTO